Shop View Series: Missed Appointments

Article Highlights:
- Use Shop View to identify no-shows.
- Learn to sort and organize results so customers receive timely follow-up.
Welcome to the last tip in our Shop View series! We last talked about how to check technician availability in Shop View when scheduling quick appointments.
Today, we’re going to jump into how you can use Shop View to follow-up with customers who have missed their appointments, i.e., no-shows. Service customers who make appointments with your dealership are ready to buy, so it’s important you exhaust all efforts to get them in your shop.
Let’s say you want to view no-show appointments from yesterday. You want to compare these appointments with yesterday’s opened ROs to see if an RO was created without using the appointment. Select the Variable Date icon to choose the date range.
When the Variable Date window displays, select an option from the Variable Date section at the bottom of the window. If you are requesting information on the current day, choose the Current Date option. If you are requesting information on an extended period of time, choose any of the +/- options. For this view, enter Current Date minus 1 Day for both the From and To fields. This displays all of yesterday’s records.
Once the date is selected, identify which Department Types or Bill Types you want the results to include. Leaving all of the options unselected includes all departments. For this view, let’s select Service and One-Step Service.
Shop View can also limit results by advisor and technician. This is useful for advisors who are keeping track of their ROs and appointments. Use the magnifying glass to search for the desired advisor. For this view, Kevin is our advisor.
To search for open or upcoming appointments, select Open under the Appointments section. To search for customers who missed their scheduled appointment for follow-up purposes, select No Shows. For this view, leave both checkboxes unchecked.
The Repair Orders section narrows your search results by limiting the results to RO status. For this view, we want to compare appointments to ROs that were opened and possibly closed yesterday, so select Include Closed.
Once the criteria have been entered, select Search (F5) to process the search. Here is what the criteria would look like for this saved view:
The results display in multiple columns that you can move around to view what you consider most important. To move a column, click on the column heading you want to move. While holding down the mouse, drag the column to its new location and then release. Keep in mind that customization carries over to other views, even if you have different criteria. For this example, move the Home Phone column next to the Customer Name column, so contact information is easily accessible.
Sorting is another great way to organize search results to make certain ROs easier to find. Clicking once on a column heading sorts the search results by that heading in ascending order; clicking a second time sorts the results in descending order. For this view, we are sorting the Customer Name column in ascending order.
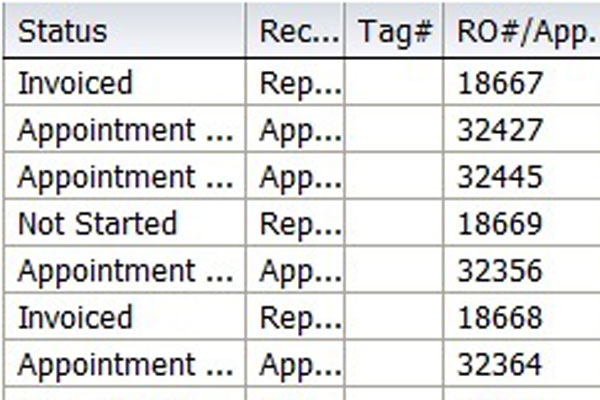
Any names appearing twice indicate a RO was created without using the appointment the customer scheduled.
Once you have your results displayed how you want, save the view by selecting Save (F10), entering a View Name, and selecting Save (F12).
You can see the view you just saved in the top right corner of the window. The next time you come into Shop View, you can use the lookup to find your saved view and review your results even faster!
For ERA-IGNITE training opportunities, visit reyrey.com/training or contact the Reynolds Software Education department by emailing SED@reyrey.com or calling 937-485-1700.
Related Articles:

ERA-IGNITE Keyboard Shortcuts (With Printable Reference Sheet)
Keyboard shortcuts can do wonders for your everyday tasks. Here’s an updated list of the most common shortcuts in ERA-IGNITE.

Visual Learner? Help videos are available in ERA-IGNITE to assist you.
Prefer to learn from watching a video rather than reading a manual? Check out ERA-IGNITE Smart Center to jumpstart your learning.

Track Your Contracts in Transit With the Heat Sheet
One of the most important metrics you monitor in F&I is your contracts in transit. With ERA-IGNITE F&I Heat Sheet, tracking your funding is simplified.

Mobile Time Clock: Getting Started with Geofencing
Simplify the time punch process and establish boundaries using geofences with Mobile Time Clock.


